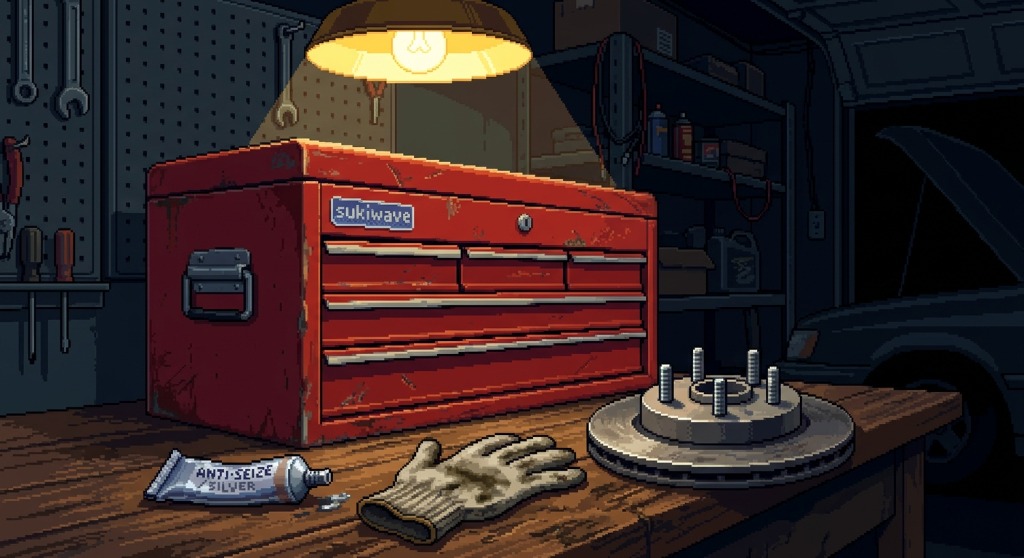
If your favorite sound in the garage is the expensive ping of a sheared-off wheel stud echoing into the cold night, congratulations—you’ve officially fallen for the internet’s favorite anti-seize trap.
Every November across North America, thousands of well-meaning DIYers grab a tube of metallic silver paste and slap it all over their wheel studs like peanut butter. You think you're being a meticulous mechanic, preventing seized nuts during the spring thaw. Then, you torque down the lug nuts, hear that sickening snap, and find yourself staring at a broken stud, a ruined weekend, and an unnecessary $400 repair bill.
Key Takeaways (Quick Summary):
- The Core Purpose of Anti-Seize: It is engineered specifically to prevent metal galling (friction welding) and seizure under extreme heat and pressure—not as a magic band-aid for wheel hardware.
- The Torque-Tension Trap: Automotive wheel studs are engineered exclusively for dry friction. Adding a slick lubricant reduces thread friction by nearly 50%, causing a standard torque wrench to generate massive, dangerous over-clamping force that stretches studs past their breaking point.
- The Damaged Thread Rule: Never use anti-seize to force a nut over cross-threaded or damaged studs. If threads are stripped or warped, the only safe fix is replacing the $4 stud.
- Where Anti-Seize Actually Belongs: Apply a microscopic, paper-thin film strictly on the hub-centric ring and rotor mating face to prevent galvanic corrosion between steel and aluminum.
- The Resale Fix: Document your seasonal tire swaps, wheel torque values, and tread depths in AutoLog to bridge the "Carfax Gap" and prove professional-grade garage maintenance.
The Great Lubrication Paradox: Galling Prevention vs. Wheel Torque
Let’s tackle the elephant in the garage head-on: Isn't the literal purpose of anti-seize to prevent thread galling and seizure?
Yes, absolutely. In industrial machinery, exhaust manifolds, and spark plug threads, anti-seize compound (typically suspension pastes of copper, aluminum, or nickel) is a lifesaver. It creates a sacrificial physical barrier that stops microscopic metal high-points from tearing, tearing off, and cold-welding together under load—a destructive phenomenon known as galling.
So why is putting it on automotive wheel studs considered one of the cardinal sins of DIY mechanics?
Here is the engineering reality: Every standard passenger car and light truck on the road (Toyota, Honda, Subaru, Ford, GM) publishes factory wheel torque specifications based on DRY, clean threads.
When engineers specify 80 to 100 ft-lbs (108 to 135 Nm) of torque, that number accounts for approximately 80% to 90% of the rotational force being consumed simply to overcome thread and seating friction. Only the remaining 10% to 15% translates into the actual clamping force (tension) that holds your wheel tight against the hub.
The instant you coat those threads in anti-seize, you slash thread friction in half. The torque wrench still clicks at your preset "85 ft-lbs," but because there is virtually zero resistance, the nut turns significantly deeper onto the stud. You haven't tightened it properly—you have accidentally delivered 140% to 160% of the designed tension load.
Anatomy of the Problem: Why Damaged Studs Can Never Be "Cheated" with Grease
A common backyard myth goes like this: "My lug nut was getting stiff and the threads look slightly chewed up. I'll just glob on some anti-seize to help it spin smooth."
This is the most dangerous mistake a DIYer can make.
When a wheel stud has damaged or cross-threaded splines, the thread crests have already lost their structural shear strength. The metal has fatigued. When you coat those damaged threads with anti-seize and crank down with a torque wrench or breaker bar, two catastrophic things happen simultaneously:
1. Thread Stripping: The lubricated threads can no longer distribute load evenly, causing the weakened, distorted metal threads to sheer off cleanly like peeled plastic.
2. Plastic Deformation (Stud Stretch): The massive spike in clamping tension pulls the steel shaft beyond its elastic limit into plastic deformation. The stud stretches permanently, becomes brittle, and the next time you hit a pothole or brake hard in freezing slush, the stud shears right off at the base.
The Golden Rule of Stud Metallurgy: You cannot "lube your way out" of mechanical thread damage. If a lug nut doesn't thread on buttery smooth by hand for the first 4 to 5 full turns, stop. Never force it. A brand-new OEM-grade replacement wheel stud costs between $3 and $6 at your local parts counter. Replacing a pressed-in stud takes 30 minutes with a hammer and a stack of washers. Gambling your life and a wheel separation on a greased-up stripped stud is insane.
The Safe & Smart Action Plan: The Professional Winter Swap Playbook
If you want to swap your seasonal wheel sets without broken studs or seized rims, follow the proven shop workflow:
1. Safety & Foundation First
Never rely on a hydraulic trolley jack alone. Park on flat, solid concrete, set the emergency brake, and place heavy wheel chocks behind the rear tires. Lift the car and set it securely onto properly rated jack stands at factory pinch welds or frame rails. Put on eye protection—corroded brake dust and road salt do not belong in your eyes.
2. Prepare the Studs: 100% Bone Dry
Take a stiff brass or steel wire brush and aggressively clean every wheel stud. Blast away winter road brine and grit with non-chlorinated brake cleaner, and wipe them dry. The threads and lug nut seats must be completely dry and grease-free.
3. The One Place Anti-Seize IS Allowed: The Hub-Centric Ring
Here is where backyard mechanics get confused. Rims often seize solidly to the car not because of the studs, but because of galvanic corrosion between the cast-iron brake rotor face and the alloy wheel's aluminum center bore.
To prevent having to kick your tire like a donkey next spring:
* Use a wire brush to remove scale and rust from the flat rotor face and the center hub-centric lip.
* Apply a microscopic, almost translucent film of anti-seize only to the raised center hub ring and around the flat rotor surface.
* Keep it at least an inch away from the studs. If you see excess paste squeezing out, you used ten times too much. Wipe it clean.
4. Torque in Two Steps with a Star Pattern
- Always thread all lug nuts on by hand until they bottom out against the wheel seat.
- Lower the vehicle just enough for the tires to touch the pavement and prevent spinning.
- Using a calibrated click-type torque wrench, tighten the nuts in a criss-cross star pattern (1-3-5-2-4 on 5-lug hubs) to half-torque first (e.g., 50 ft-lbs), then final factory spec (e.g., 85–90 ft-lbs).
- Never use an pneumatic or cordless impact wrench for final tightening.
5. The Critical 50–100 Mile (80–160 km) Re-Torque
As aluminum wheels heat up and settle against the hub over the first few heat cycles, fasteners can experience microscopic settling. Always take your torque wrench out after 50 to 100 miles (80 to 160 km) of normal driving and re-check each nut.
Notes from My Garage: The Tale of the Broken Stud and the $150 Tow
Years ago, during an icy November evening in my drafty garage, I was rushing through a winter tire swap on my daily driver. One of the front studs felt gritty and stubborn. Instead of pausing to inspect the threads, I grabbed a tube of silver anti-seize, coated the stud liberally, and hit it with an electric impact gun.
It spun on fast and felt tight. I thought I had outsmarted the system.
Two weeks later, cruising down the highway at 65 mph (105 km/h), I felt a rhythmic vibration through the steering wheel. I pulled off into a gas station, grabbed my tire iron, and barely touched the top lug nut.
PING.
The stud had sheared completely in two. The nut fell into my hand with half of the stretched steel bolt still lodged inside it. Because I had over-torqued a compromised stud with lubricant, the metal had suffered fatigue failure. I had to pay $150 for a flatbed tow and spend my Sunday afternoon tearing apart the brake caliper to press in a new hub stud.
Doing maintenance yourself builds great self-reliance, but physics will always humble arrogance. Respect the torque specs.
The Solution: Enter AutoLog (The Proof That Protects Your Resale)
Doing meticulous seasonal tire maintenance—checking thread condition, torquing dry to factory spec, and re-checking at 100 miles—makes you a top-tier vehicle owner. But when it comes time to sell your car privately, none of that shows up on a standard Carfax report.
Even worse, that thermal paper receipt you got when buying your winter tires or replacement studs fades to solid white inside your hot glovebox within six months. When a buyer inspects your car, your word is all you have.
AutoLog eliminates that "Carfax Gap."
In 30 seconds on your phone, you can log:
- The exact seasonal tire changeover date and odometer reading
- Verified factory dry-torque specifications (e.g., 85 ft-lbs dry)
- Remaining tire tread depths across all four corners (e.g., 8/32" front, 7/32" rear)
- Photos of parts receipts for replacement studs, nuts, or winter tires
When prospective buyers see a clean, cryptographic AutoLog Vehicle Health Report, they see proof of an owner who didn't take shortcuts or butcher hardware in their driveway. You eliminate doubts, prove flawless wheel and hub safety, and command the highest resale price for your car.
Call to Action
Stop guessing your wheel torque and gambling your safety on greasy shortcuts. Head over to AutoLog at sukiwave.com, log your seasonal wheel swap for free today, and build a digital maintenance record that proves your garage craftsmanship is second to none.
Legal Disclaimer: This content is for informational and educational purposes only. Always consult your vehicle's official factory service manual for exact torque specifications, tightening sequences, and safety guidelines. Automotive suspension and wheel maintenance involves inherent risks of personal injury and catastrophic component failure. AutoLog, Sukiwave LLC, and its contributors are not responsible for sheared wheel studs, stripped threads, or improper vehicle lifting.