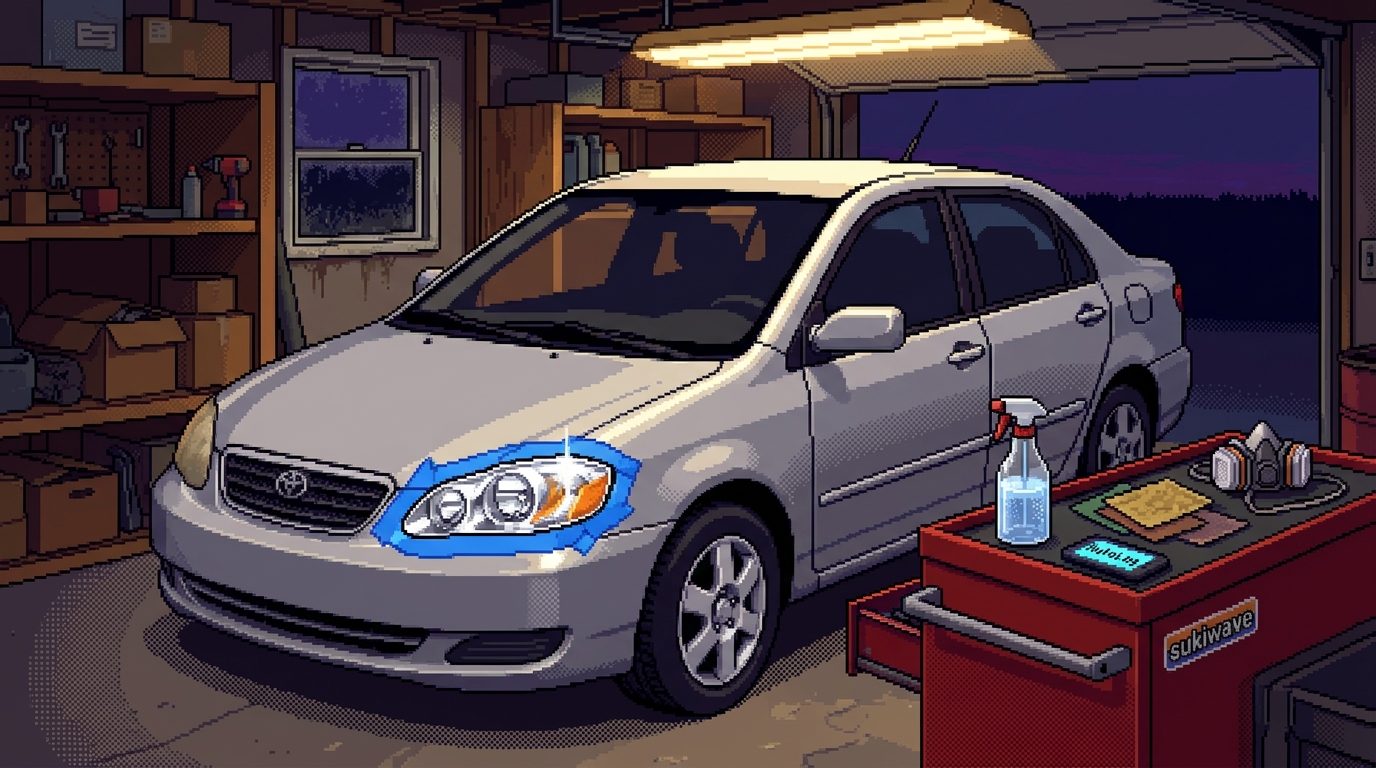
The clocks went back last weekend, and if you drive home after work, you've probably noticed already. Five o'clock is dark now. On a wet road with faded lane lines, a pair of yellowed headlights makes it feel even darker.
If your lenses have that chalky, amber look, there are two fixes you'll hear about first. A dealer will happily quote you new headlight assemblies, which can easily cross $1,000 for the pair, and a lot more on some LED-equipped models. Or you can go down the social media rabbit hole, where someone sprays bug repellent on a foggy lens, wipes it with a rag, and it comes up clear in ten seconds.
Neither one is the right first move. Yellow headlights are almost always a surface problem, and a surface problem is something you can fix in your driveway in an afternoon. The bug spray trick is the one to stay away from, though, and it's worth knowing why.
The short version, if you're standing next to the car right now:
Don't put bug spray, penetrating oil, or anything solvent-based on the lens. Bug spray "works" by softening the plastic, and oil just hides the haze until the next rain. What actually works is sanding off the dead factory coating, smoothing the plastic back to clear, and putting a new UV-blocking clear coat on top. That last step is the one cheap kits tend to skip, and it's why so many restored headlights are yellow again by next summer.
Why the Lens Turns Yellow in the First Place
Through most of the '80s, cars ran glass sealed-beam headlights. Glass doesn't care about sunlight. It does care about rocks, which is part of why the industry moved to polycarbonate. It's light, it can be molded into whatever shape the designers want, and it won't shatter when a pebble hits it at highway speed.
The catch is that polycarbonate breaks down under UV. So every lens leaves the factory with a thin, hard clear coat on it. That coating is doing all the work, and it doesn't last forever. Sun, road salt, sand, and car wash brushes wear it down over the years. Once it's gone, UV starts working on the plastic itself, and that yellow, cloudy layer is the result.
This is also why brighter bulbs don't really solve anything. A headlight is built to throw a shaped beam with a clean cutoff at the top. A rough, cloudy lens scatters that light everywhere. You get more glare, oncoming drivers flash their high beams at you, and the road ahead doesn't get much brighter.
Why Bug Spray Seems to Work (And Why It Backfires)
A lot of insect repellents use DEET as the active ingredient. DEET is known to damage some plastics and synthetic fabrics, and many repellent labels say so right on the can. Wipe it onto a cloudy headlight and it softens the top of the plastic just enough to smear the haze flat. That's why the lens clears up so fast.
The problem is what's left behind. You haven't removed the damaged layer. You've partly dissolved it and spread it around. The surface can stay slightly tacky and start collecting dirt. Solvents can also cause crazing in polycarbonate, which is a web of fine cracks in the plastic itself, and if those go deep enough, sanding won't get them out. At that point you really are shopping for new housings. And since there's still no UV protection on the lens, the yellowing comes right back anyway.
Penetrating oil is a different trick with the same ending. It doesn't dissolve anything. It just fills in the tiny scratches so light passes through more cleanly, the same way a frosted window looks clearer when it's wet. It looks fine until it rains or dries off, and in the meantime it gives road grime something to stick to.
Toothpaste is the most harmless of the three. It's a mild abrasive, so it can polish off light surface haze. It just isn't aggressive enough to remove a failing factory coating, and it leaves nothing behind to protect the plastic. Expect it to look better for a little while, then go right back.
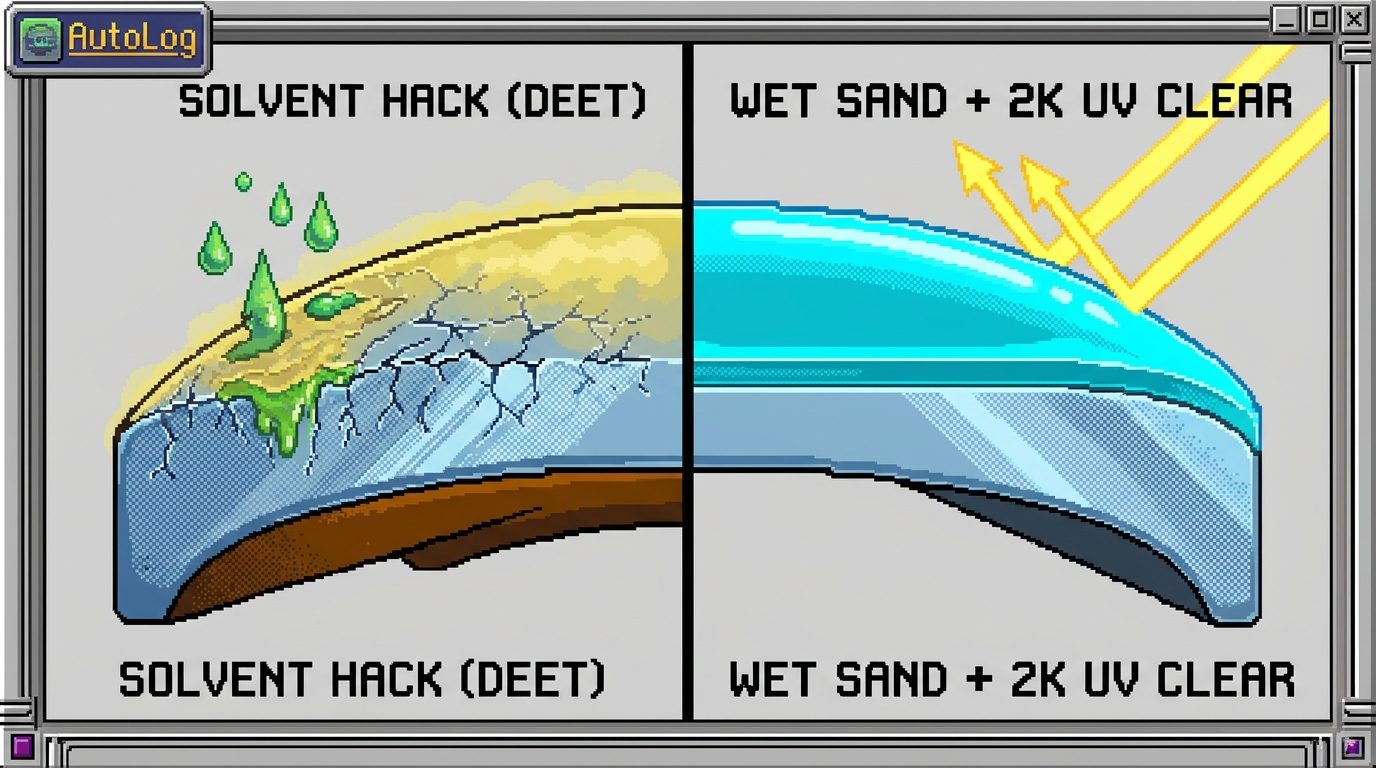
A solvent softens and smears the damaged surface. Sanding removes it, and a new clear coat takes over the factory coating's job.
Doing It Properly: Sand, Polish, Seal
The real fix comes down to three jobs: get all of the old coating off, smooth the plastic back to clear, and protect it. None of it is difficult. It's mostly patience.
What you'll need
Wet/dry sandpaper in a few grits (roughly 800, 1500, 2000, and 3000), a spray bottle with water and a drop of dish soap, painter's tape, a microfiber towel, isopropyl alcohol, and a UV clear coat. Starting from nothing, figure somewhere around $40 to $60 USD ($55 to $85 CAD). A good chunk of that is the clear coat and a respirator, and the respirator will get used again.
Protect yourself and your paint first
Tape off everything around the headlight, and use two layers. Sandpaper slips, and bumper and fender paint is thinner than most people expect. If you're spraying, cover the hood and bumper with plastic or newspaper as well.
If you go with a 2K (two-part) aerosol clear, take the warning on the can seriously. The hardener contains isocyanates, which can cause serious breathing problems and long-term sensitization. Spray outside or with the garage door open, and wear a properly fitted respirator rated for organic vapors and paint mist. A paper dust mask does nothing here. Add eye protection and nitrile gloves, and follow whatever the can label specifies.
Step 1: Take off the old coating (800 grit)
Wet the lens and the paper, and sand side to side across the whole lens. Keep everything wet. The water running off will turn milky yellow, which is the old coating coming off. Keep going until the runoff isn't yellow anymore and the lens is an even, frosted white all over. Any shiny patch means there's still old coating there. If the factory coat is peeling in big flakes, you can start at 600, but don't go coarser than you need to.
Step 2: Refine the scratches (1500 grit)
Wipe the lens down and switch to 1500, sanding up and down this time. Changing direction makes it obvious when the deeper scratches from the first step are gone. Once you can't see any side-to-side marks, you're done with this grit.
Step 3: Finish (2000, then 3000)
Go back to side-to-side with 2000, then finish with 3000. Wet, the lens should already look fairly clear. Dry, it'll look evenly hazy. That's normal. The clear coat or polish is what brings the shine back.
Step 4: Clean it and seal it
Dry the lens and wipe it down with isopropyl alcohol on a clean, lint-free cloth. From here on, keep your fingers off it.
The longest-lasting option is a 2K aerosol clear. Activate the can the way the instructions say, shake it well, and put on a light first coat, then a wetter second coat after the wait time printed on the label. Done right, it holds up for years.
If you'd rather not spray, polish the lens with compound on a foam pad until it's clear, clean it again, and apply a wipe-on UV clear coat. Most headlight restoration kits come with one. It's easier and there's no overspray to worry about, but it won't last as long as a 2K clear, so plan on topping it up.
Either way, give it time to cure before it sees rain or freezing weather. The product instructions will tell you how long. Expect several hours at minimum, and longer in a cold garage.
Keeping Track of the Next Refresh
Whatever you seal it with will wear out eventually, just like the factory coating did. A wipe-on coating especially will need refreshing sooner than a 2K clear. Topping it up before the plastic starts yellowing is a five-minute job. Letting it go means sanding all over again.
The hard part is remembering. If you'd rather not leave it to memory, you can log the job, the date, and the product you used in AutoLog for free, along with a before-and-after photo. It's handy when the next refresh comes around, and it doesn't hurt when you go to sell the car either.
If your headlights have gone yellow, this is a good Saturday job. Tape it off, take your time on the first grit, and you'll see the difference on the drive home Monday night.
Disclaimer: All content on AutoLog (sukiwave.com) is provided for informational and educational purposes only. Automotive maintenance and chemical coatings involve physical and health hazards. Two-component (2K) urethane clear coats contain isocyanates that can cause severe respiratory irritation or sensitization. Always work in a well-ventilated area, wear a properly fitted respirator as specified by the product manufacturer, and use eye protection and chemical-resistant gloves. Mask adjacent painted surfaces thoroughly before sanding or spraying. Do not apply insect repellents, solvents, or other unapproved chemicals to vehicle lighting, as lens damage and reduced nighttime visibility may result. Check local regulations regarding headlight condition and modifications. Sukiwave LLC and AutoLog assume no liability for property damage, regulatory non-compliance, or personal injury resulting from the use of this information.