Scraping frost off a windshield at 7:00 AM is frustrating enough, but discovering that your car heater only blows cold air makes a chilly morning commute miserable.
You let the engine reach operating temperature, set the heat control to maximum, and hold your hand up to the vents—only to feel ambient cold air. The temperature gauge on the dash reads normal, but inside the cabin, you're left shivering in your winter coat.
Later that day, you stop by a repair shop or dealership service counter for an inspection. The service advisor reviews the diagnosis and outlines the repair:
"The heater core is clogged. On this vehicle, replacement requires discharging the A/C system, dropping the steering column, and removing the entire dashboard assembly down to the firewall. Estimated labor is 9.5 hours, coming to around $2,100 total."
For an older vehicle, a $2,000 repair estimate is hard to justify—often approaching half the market value of the entire car. But before paying a shop to tear apart your interior or settling for a freezing winter drive, it pays to understand what is actually happening. In many cases, the heater core isn't structurally broken; it is simply plugged with old coolant sediment. A straightforward 20-minute reverse flush with a garden hose can often restore cabin heat without touching a single dashboard bolt.
The Quick Diagnostic Check: Confirming the Real Cause
Before purchasing cleaning chemicals or disconnecting hoses, run through a quick check to isolate which component is responsible:
- Possibility 1: Thermostat Stuck Open ($15 Part)
If the temperature gauge on your instrument cluster never climbs to normal operating temperature and stays near the cold mark while driving, the engine isn't reaching full heat. An open thermostat continuously cycles coolant through the front radiator. Replacing the thermostat resolves this. - Possibility 2: Blend Door Actuator Failure ($35 Part)
Listen closely behind the glove compartment or center console when adjusting temperature settings. A persistent clicking or tapping sound usually indicates stripped plastic gears inside the blend door actuator. In this case, the heater core itself is hot, but the motorized flap that directs airflow across it is stuck. - Possibility 3: Restricted Heater Core (The $2,000 Quote)
If the engine reaches proper temperature and the blend doors operate quietly, check coolant flow into the cabin. With the engine fully warmed up, pop the hood and locate the two rubber heater hoses passing through the firewall. With a gloved hand, carefully check the temperature of both lines. If the inlet hose is hot to the touch while the outlet hose remains lukewarm or cold, coolant flow through the core is restricted. A reverse flush is the logical next step.
Why Heater Cores Are Prone to Clogging
To understand why heater cores restrict flow while the main engine radiator continues functioning normally, consider the internal design.
The primary radiator at the front of your car features relatively wide cooling passages designed to shed high heat loads from the engine. In contrast, the heater core inside the cabin HVAC box is a compact heat exchanger built with extremely narrow aluminum tubes to maximize surface contact in a small space.
As engine coolant ages beyond recommended service intervals (often 5 years or 60,000 miles), its anti-corrosion additives degrade. Suspended rust particles, mineral deposits, and spent silicates circulate through the cooling system. Because the heater core channels are narrow, these contaminants settle inside the core passages over time, creating a restrictive layer of sediment.
Once flow slows through a few tubes, overall velocity drops, allowing further sediment to drop out of suspension until coolant circulation through the core stops almost entirely.
Essential Supplies for a Driveway Reverse Flush
You do not need specialized shop machinery or high-pressure air systems. The job requires basic hardware supplies, a drain container, and clean water:
- Two lengths of clear vinyl tubing (approx. 5 feet each): Typically 5/8-inch or 3/4-inch inner diameter to fit your vehicle's heater core pipe nipples. Clear hose allows you to monitor the clarity of the exiting fluid.
- Garden hose with a controllable shutoff nozzle or threaded brass adapter: Used to introduce a low-pressure water supply.
- Two stainless hose clamps: To secure the vinyl lines snugly over the heater core fittings.
- A five-gallon drain bucket: To collect old coolant and flush water for responsible disposal.
- Cooling system cleaner (Optional): A mild automotive cooling system flush or diluted CLR solution for heavily oxidized cores.
- One gallon of fresh 50/50 premixed coolant: To replenish fluid lost during hose removal.
Step-by-Step Reverse Flush Procedure
1. Allow the Cooling System to Cool Down Completely
Never service cooling system components on a warm engine. Pressurized hot coolant presents a severe burn risk. Ensure the engine and upper radiator hose are completely cool before starting.
2. Disconnect the Firewall Heater Hoses
Locate where the rubber heater hoses connect to the metal nipples extending from the firewall. Loosen the factory hose clamps and slide them back along the hose.
Practical note: Rubber hoses frequently adhere tightly to aluminum nipples after years of heat cycles. Avoid pulling backward forcefully, as soft aluminum fittings can bend or crack. Instead, use a pair of slip-joint pliers to grip the hose gently at the fitting and twist it slightly to break the seal before sliding it off.
3. Connect Lines for Reverse Flow
Every heater core has a feed line (inlet from the engine) and a return line (outlet back to the water pump). Clearing stubborn sediment requires flushing in reverse. Pushing water against the normal flow path helps dislodge particles wedged into tube entries.
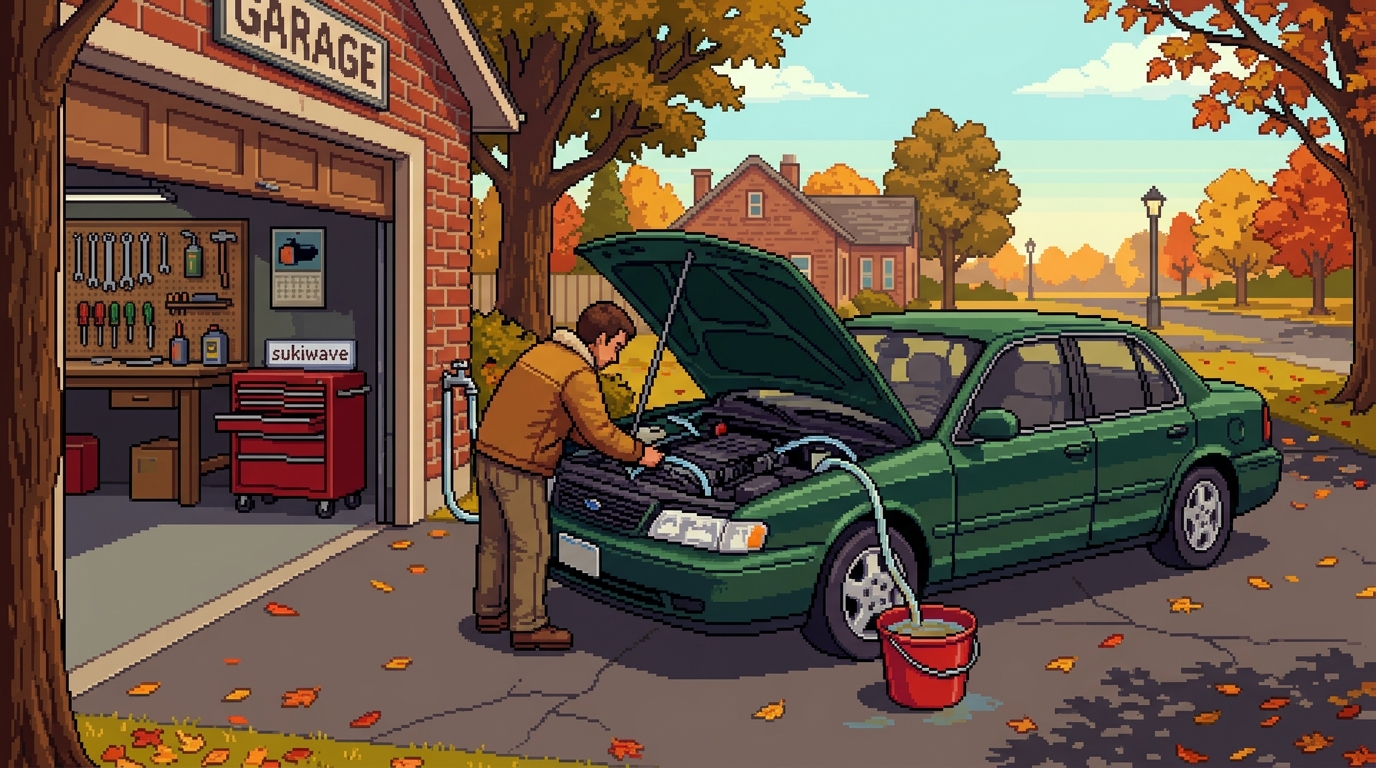
Attach one vinyl hose to the outlet nipple (this will receive clean water). Attach the second vinyl hose to the inlet nipple and direct its open end into your collection bucket.
4. Regulating Water Pressure: Protecting the Core Matrix
Never use a pressure washer or full residential line pressure when flushing a heater core. Municipal water pressure frequently runs between 50 and 80 PSI, while a typical vehicle cooling system operates at 14 to 18 PSI. Blasting unregulated high pressure into an aged aluminum core can rupture the internal tube welds, causing water to leak into the cabin footwell.
Keep your garden spigot opened only to a low, gentle stream (roughly a quarter turn), using brief, low-pressure pulses to loosen restrictions gradually.
5. Clearing the Sediment
Initial water flow will likely be sluggish and murky as backpressure builds against the obstruction. After several gentle pulses, you will typically see rust scale, discolored coolant sediment, and mineral deposits dislodge and drain out through the clear discharge hose into the bucket.
Continue flushing gently until the runoff runs completely clear.
6. Chemical Treatment for Heavy Restrictions
If water flow remains slow, hold both hoses upright and pour in an automotive cooling system cleaner or a mild diluted CLR mixture using a funnel. Allow the chemical to soak inside the core for roughly 15 minutes to dissolve scale, then flush thoroughly in both directions with clean water until no residue or foam remains.
Reassembly and Bleeding Air from the System
Once water flows freely, gently blow through one line to evacuate residual tap water, reconnect the original heater hoses, and secure the clamps.
The final critical step is bleeding trapped air out of the cooling system. Air pockets naturally collect at the highest point of the cooling circuit—frequently the heater core itself. Trapped air blocks coolant flow just as effectively as physical sludge:
- Park the vehicle on a slight incline with the front raised, or lift the front end with ramps.
- Remove the radiator cap and fit a spill-free funnel to the filler neck.
- Add fresh 50/50 coolant until the funnel is approximately one-third full.
- Run the engine up to operating temperature until the thermostat opens and the radiator fan cycles on.
- Set the interior climate control to maximum heat with low fan speed.
- Observe the funnel as air bubbles escape to the surface, gently squeezing the upper radiator hose to help dislodge pockets.
- Once bubbling stops and consistent heat radiates from the interior vents, secure the radiator cap and inspect all connections for leaks.
Maintenance Records and Long-Term Value Protection
Restoring solid cabin heat for the cost of a few feet of vinyl tubing and an afternoon in the driveway is one of the most rewarding DIY fixes you can tackle. You avoid a massive labor bill, keep your original dashboard assembly intact, and regain a comfortable commute.
However, a heavily restricted heater core indicates that the rest of the cooling system likely requires attention. Modern long-life coolants break down chemically over time even when their color appears normal, losing pH buffering capacity and corrosion protection.
Documenting cooling system services in a digital log like AutoLog makes it easy to track service dates and mileage intervals. Keeping consistent records ensures you stay ahead of cooling maintenance—protecting your engine from costly overheating issues while providing clear proof of care if you eventually sell the vehicle.
Disclaimer: This article is intended strictly for educational and informational purposes. Automotive cooling systems operate under high pressure and scalding temperatures. Never remove a radiator cap or disconnect cooling hoses from a warm or hot engine. Always wear appropriate personal protective equipment, including safety glasses and heat-resistant chemical gloves. Collect and dispose of old engine coolant in compliance with local environmental regulations—ethylene glycol is highly toxic to pets and wildlife. Excessive water pressure can rupture vehicle heat exchangers. Sukiwave and AutoLog assume no liability for vehicle damage, fluid spills, or personal injury resulting from actions taken based on this content.